Online store - web button
Overview
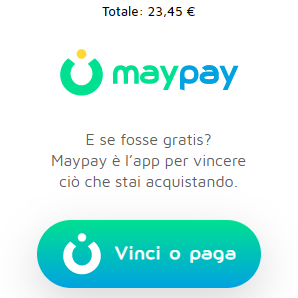
The web button makes it easy to integrate Maypay as payment method in any e-commerce. Once the checkout has been completed, during the selection of the payment method, the user can choose to use Maypay as paying method and try to win what he is buying. The interaction between the Maypay servers and the ecommerce server is described in the payment flow One-off - Web Button.
To use Maypay as paying method, the user clicks on a web button that opens an overlay through which the user can proceed in two different ways:
- QR Code: scanning the qr code with a phone the Maypay app is started, the user can confirm the payment in the app.
- Enter the phone number: a notification arrives on the Maypay app, the user can confirm the payment in the app.
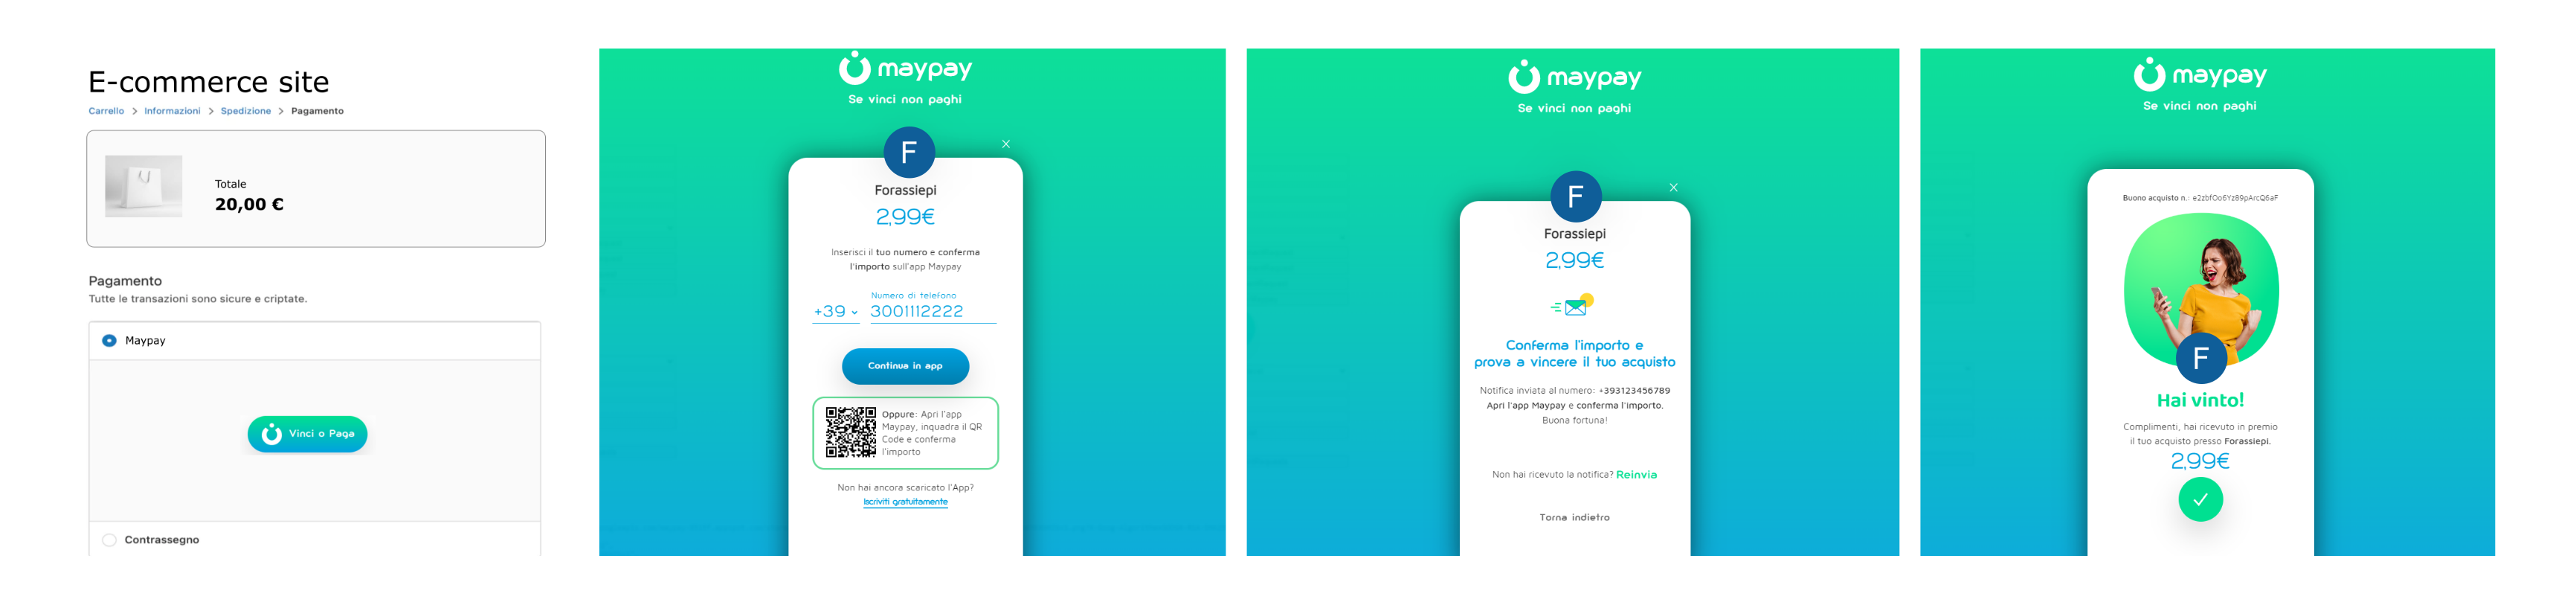
Once the user has completed the payment flow in app, the result is notified to the e-commerce back-end by means of the callback URL provided during the creation of the payment request. Moreover in the front-end the e-commerce site can capture a Javascript event generated by the overlay frame.
The web button is an HTML component provided via a Maypay library that manages the opening of the interface displaying the QR code and the phone number entry field. More information on how to use Maypay's web_button library can be found here
Web button front-end library
The library allows a web component to be integrated into an HTML page.
Web button box
import the library into the header via
<script src="https://maypay-app.web.app/libs/maypay-online-button-box.js"></script>
<link rel="stylesheet" href="https://maypay-app.web.app/assets/fonts.css">
add the web button to the content with
<maypay-online-button-box paymentRequestId="<paymentRequestId>" paymentRequestAmount="<amount-in-euros>" />add an Event Listener to the window to capture the window closing event handled by the Web Button.
<script>
    window.addEventListener("maypay-event", (event) => {
        console.log("Maypay event received. Message:", event.detail);
    })
</script>
Only the web button
We also provide a version with only the web-button:
import the library into the header via
<script src="https://maypay-app.web.app/libs/maypay-online-button.js"></script>
<link rel="stylesheet" href="https://maypay-app.web.app/assets/fonts.css">
add the web button to the content with
<maypay-online-button paymentRequestId="<paymentRequestId>" />add an Event Listener to the window to capture the window closing event handled by the Web Button.
<script>
    window.addEventListener("maypay-event", (event) => {
        console.log("Maypay event received. Message:", event.detail);
    })
</script>
Maypay event
The web button is able to notify the e-commerce front-end that the payment procedure has ended. By adding the listener defined in 3., it is possible to capture maypay-events. The event.detail contains the payment result data and is similar to the following object:
{
  "state": "PAYED",
  "isWinningTransaction": false,
  "amount": 499,
  "storeName": "Test Store",
  "transactionId": "dE8tdYHA65EmW0BaXZiW",
  "metadata": {
    "createdAt": 1688135057162,
    "orderId": "orderId"
  },
  "storePicUrl": "https://storage.googleapis.com/maypay...",
  "createdAt": 1688137883044
}
The possible states are listed below:
const PAYMENT_REQUEST_STATUS = {
  CANCELLED_BY_BUYER: "CANCELLED_BY_BUYER",
  DENIED: "CANCELLED_BY_MERCHANT",
  PAYED: "PAYED",
  TIMEOUT: "TIMEOUT",
  ERROR: "ERROR",
  WAITING_CAPTURE: "WAITING_CAPTURE"
};
Wrapping up
The final structure of your page should look like the following.
<!DOCTYPE html>
<html lang="en">
  <head>
    <!-- ... -->
    <script src="https://maypay-app.web.app/libs/maypay-online-button.js"></script>
    <link rel="stylesheet" href="https://maypay-app.web.app/assets/fonts.css">
    <!-- ... -->
  </head>
  <body>
    <noscript>You need to enable JavaScript to run this app.</noscript>
    <div id="root" onload="">
      <!-- ... -->
      <maypay-online-button paymentRequestId="<paymentRequestId>" />
      <!-- ... -->
    </div>
    <script>
        window.addEventListener("maypay-event", (event) => {
            console.log("Maypay event received. Message:", event.detail);
        })
    </script>
  </body>
</html>